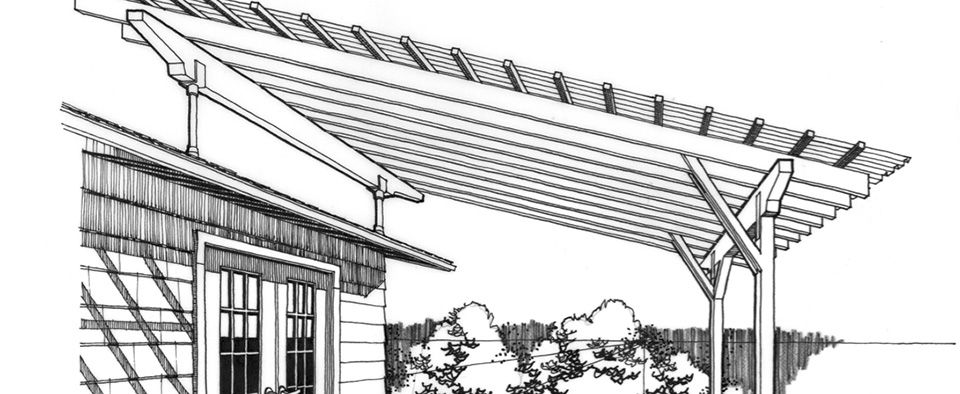
Patio Roof Extension Ideas & Planning
A low, un-pitched patio roof can cause a lot of issues. Without a pitch, debris and water can collect on the top and eventually cause damage to the structure. In some cases damage might just be a leaky seam, in other cases water can rot the structure and make it potentially dangerous.
By raising and pitching your patio roof, you not only create more headroom for yourself and your guests, but you’ll also extend the life of your patio roof structure by preventing water damage and other wear and tear.
For those unaware, raising your patio roof can be a challenging DIY home project. While it’s not out of the skill level of your basic home handyman, the process of increasing the height and angle of your patio roof cover requires planning, the appropriate tools, and some basic carpentry skills.
Below, is a walkthrough of building your basic roof extension over your patio project.

How to Plan Out Your Patio Roof Raising Project
The goal here is to raise your patio roof and pitch it without having to completely dismantle the structure and support beams. Depending on the type of patio or pergola cover you have, there may be a lot of different ways to go about the project but here are the basic phases of most projects:
- Phase 1: Detach patio cover
- Phase 2: Raise an pitch patio cover
- Phase 3: Brace patio cover in new position
- Phase 4: Reattach patio cover to new supports
The majority of work that goes into raising your patio roof will all happen during the planning phase. Here’s how to map out your plan:
- Get your measurements - You need to carefully measure every aspect of the patio roof project, from the pitch, to the increased height, to the distance from your house or external structure, and more. This will help you know what size roof risers to buy, what additional wood and other materials you’ll need.
- Purchase your materials - You can either purchase all materials at once, o rdo it in batches as you complete phases of the project.
- Add stability and support - if you don’t have plenty of manpower to stabilize your structure while it's being raised and reattached, you’ll want to make sure that you add plenty of counter supports, braces, and stud braces to keep things in place during the project
- Begin working in phases - the different parts of the project depend on the patio or pergola you’re dealing with and how you’ll actually be attaching raised roof cover to its new attachment point. For example
- Check your work at the end of each phase - By breaking your project out in phases, it gives you a chance to check your work, make sure everything is plumb, level, and square, and prep for the next phase.
- Remove supports & clean up - There’s nothing more cathartic than cleaning up after the completion of a tough project
Use the planning process above as a rough outline for your patio roof raising project as each project is different. Be sure to consult your local professionals before performing any project.
Recommended Tools List
Every project is only as good as the tools that you have. Since a patio roof raise project is a more difficult undertaking, you’ll probably need some tooly you don’t already have at your disposal. Here are some tools you’ll likely use during your project:
- Skill saw
- Sawhorses
- Power drill
- Wood screws
- Tape measure
- Adjustable clamps
- Right angle guide
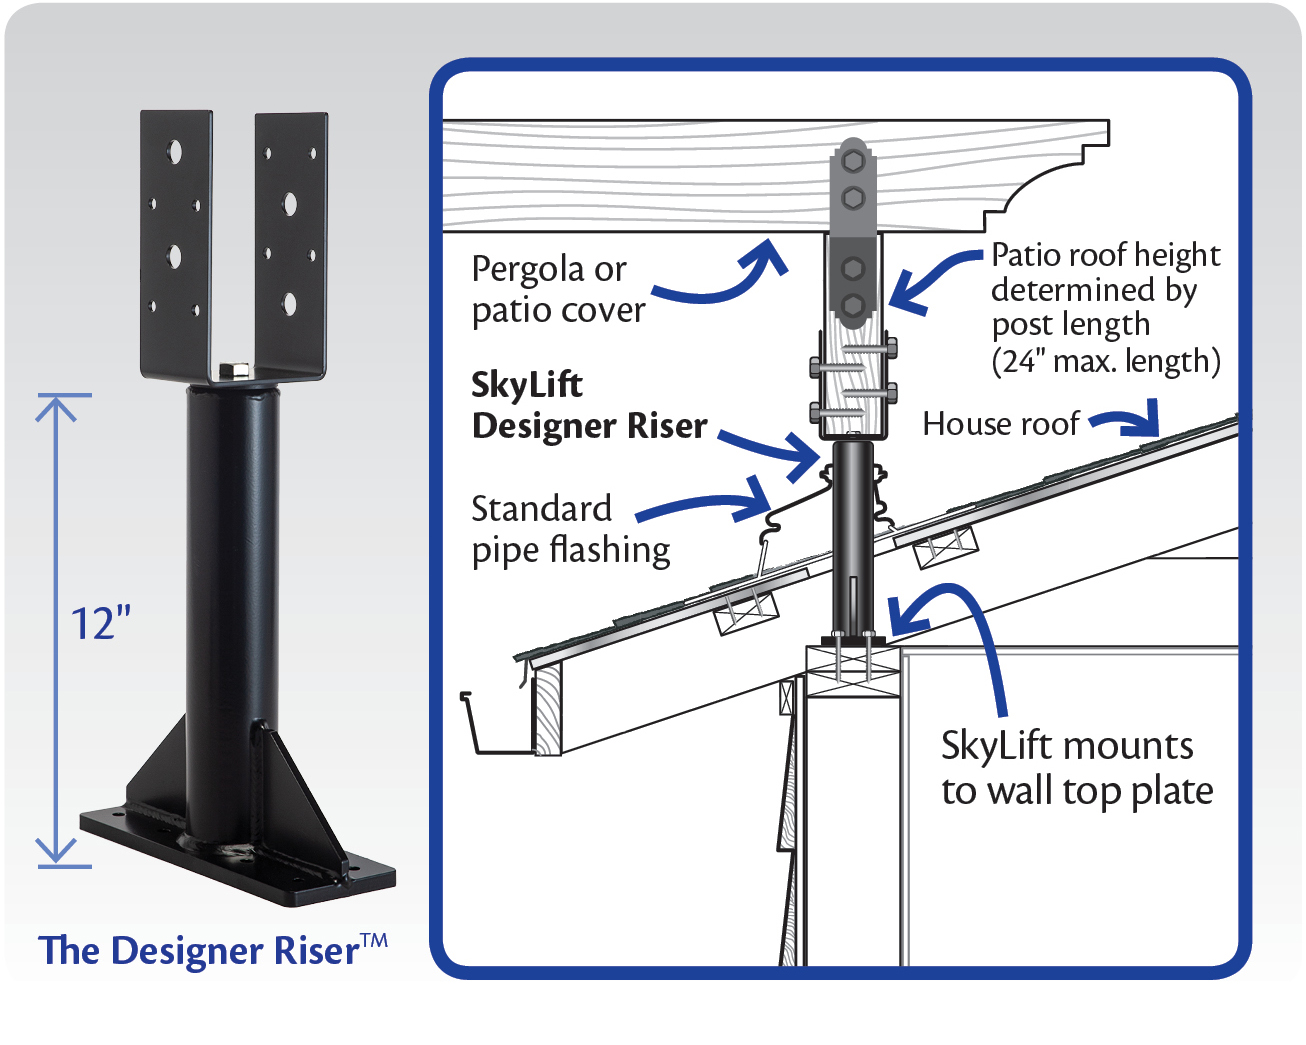
- Skylift roof riser (and appropriate hardware)
Resources for Measuring, Pitching, & Cutting
Raising and pitching your roof successfully requires an understanding of angles, and basic wood framing skills. If you’re going to do this DIY, some of these resources will come in handy in helping you measure properly and get the right angles on your patio roof:

Patio Roof Riser Inspiration
If you’re early in the planning stages of your roof extension over patio project, we’ve included some great image inspiration to get those creative juices flowing.
Pitched and Raised Patio Connected to Roof

In the photo above, you’ll see that this particular pergola is raised and attached to the roof of the house with extension brackets and roof flashing.
Built-in Pitched Patio Roof

This is your basic pitched, covered patio roof. It has three main upright beams supporting the far end of the extension while the raised end is anchored directly to the house structure. This is likely a built-in patio area, but our roof riser extensions will give you the same effect by allowing you to anchor the raised side of the patio roof to your house’s roof or the exterior of your walls.
Post-anchored Shade Sail Cover

Using shade sails are a relatively easy way to provide plenty of shade and light waterproofing to your patio area. You’ll notice that one end of the shade sails are affixed to upright posts and the other side is attached to the exterior of the house, just under the roof awning.
|